What makes Interstellar’s black hole so visually spectacular? I explore the physics behind the film: http://leuvendiaries.blogspot.be/2015/02/interstellar-inspirational-science.html
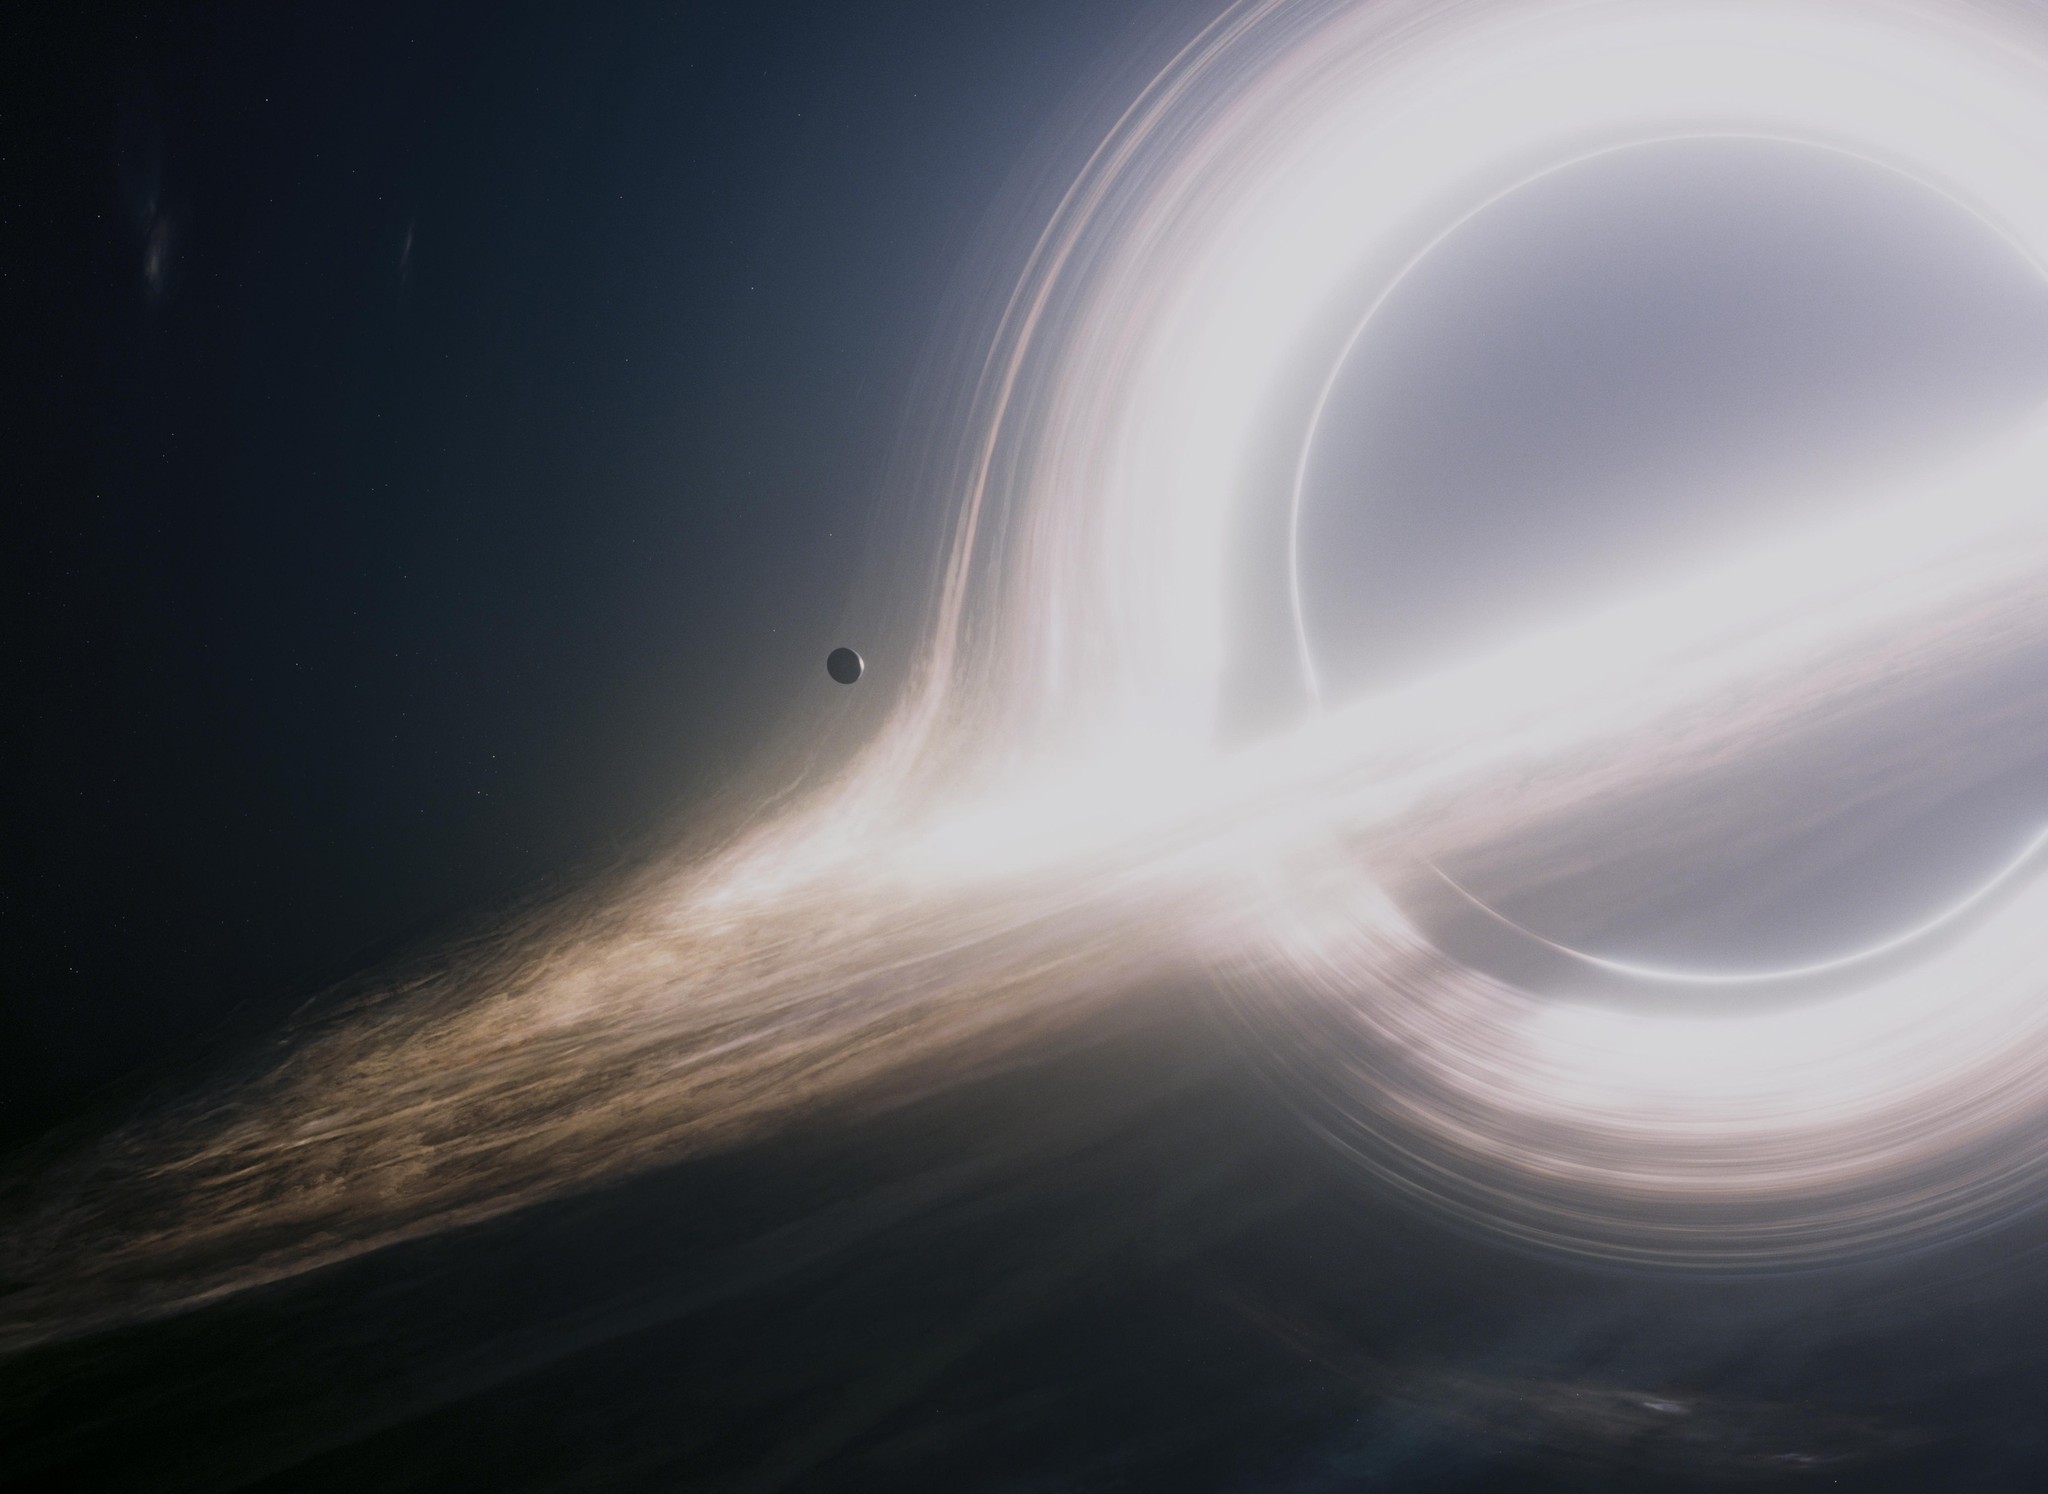
The black hole Gargantua, from the film Interstellar [source]
What makes Interstellar’s black hole so visually spectacular? I explore the physics behind the film: http://leuvendiaries.blogspot.be/2015/02/interstellar-inspirational-science.html
The black hole Gargantua, from the film Interstellar [source]
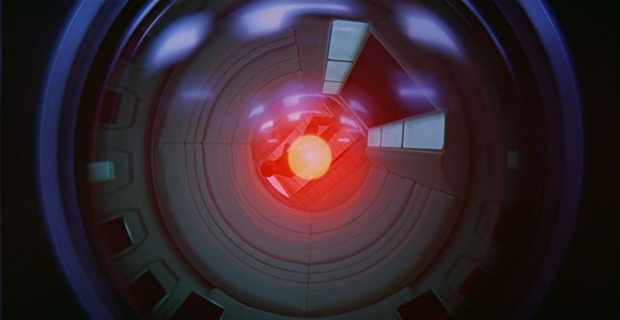
“The development of full artificial intelligence could spell the end of the human race” – Stephen Hawking.
“AI represents an existential threat to mankind” – Elon Musk.
What is it about AI today, that is making leading scientists and engineers sit up and take notice? Does it really pose an existential threat, as Hawking and Musk would have us believe?
The real threat, I discover is one of jobs and livelihoods to hundreds of millions in the developed world. More about the current state of the art in AI, and its possible social impacts in my post: The Real Risks of AI.
 [source]
A first implementation of detecting stixels from stereo data.
Stixels, a compact representation of 3D space for robot obstacle avoidance and navigation. Introduced by Badino et. al., 2009, stixels are a method to detect the nearest obstacles in front of a stereo camera pair by looking for discontinuities in the depth data. The idea is that the ground plane has monotonically decreasing depth (disparity) along each row, moving upwards from the bottom of the depth map, and obstacles represent a discontinuity in the depth profile of the ground plane. Stixels are visualized as matchstick-like volumes sitting up from the road space and clusters of them are used to represent obstacles around a robot. In this video, from top left, in raster order are: left camera image, disparity map, polar occupancy grid, cartesian occupancy grid and finally, the stixel representation, with blue bars representing the stixels, the nearest obstacles around the robot. The data is the Banhoff sequence, a commonly used stereo dataset from ETH, Zurich.
This implementation detects stixels from the full depth map (as in the original Badino paper), but a much faster stixel implementation without depth map computation has been shown by Benenson et. al, 2011 and my implementation of that is work in progress.
Stixel representation was used in the computer vision algorithms on the Mercedes Benz S500 prototype autonomous vehicle that drove autonomously between Mannheim and Pforzheim recently, on the 125th anniversary of Bertha Benz’s drive of the original Benz along the 100 kms of the same route.
Stixel representation is a compact representation of the space around a robot (or an autonomous vehicle) and can be used to aid obstacle avoidance, path planning and pedestrian detection.

What better way to spend a rainy June afternoon than to wander through the halls of the British Museum, taking in 2500 year-old scenes, real and mythical, immortalized in marble? My report on the Elgin Marbles, here.
Dragons, humanoids, flying, crawling and climbing robots from ICRA 2014.
Nghia and my paper, Localization on Freeways using the Horizon Line Signature, has been accepted for publication at the Workshop on Visual Place Recognition in Changing Environments, held at the International Conference of Robotics and Automation (ICRA 2014) in Hong Kong.
A video describing the system is available here:
 Animated gif of a series of images of the GolPark junction in Kolkata. These images were taken from the roof of the Ramkrishna Mission, an oasis of calm, in the chaos and frenzy that is Kolkata. I didn’t have a tripod at the time, and hence the slight shake between the images.
Google+, with its new feature called Auto Awesome now automatically converts a set of 5 or more images taken on your Android device into a gif. But you can also convert a set of images (taken with another device, in this case an SLR) into a gif using Gimp. The steps are as follows:
1. Load the images into Gimp as Layers (File->Open as layers).
2. Register the layers using the Blend tool (Filters->Animation->Blend). Keep the default options.
3. Play your animation using Filters->Animation->Playback.
4. Save your animation as a gif using File->Export (save with a .gif extension and tick the As Animation option. You might also want to tick the interlace option).
Decrease the size of your gifs by downsampling (throwing away every 2nd or 3rd frame if you have a lot of images), reducing the size of your images or reducing the colour quantization or depth of your images (Image->Mode->Indexed->Use web-optimized palette).

How many times have you returned to your parked car only to find it scratched or bumped with no trace of the offender? Well, I’ve had my car vandalised or bumped into on five separate occasions over the years with repair bills running into thousands of dollars.
This is a project that hopes to remedy that situation. The idea is to have a camera in your car that will record video for a pre-determined amount of time when it detects a bump in the parked car. Hopefully, your camera will allow you to play back footage at the time of collision and record the number plate of the offending vehicle. I don’t know if your insurance people will accept this as evidence, but atleast it will give you the satisfaction of finding the culprit(s)!
At this stage of the project, the components are:
-an Arduino Uno
-an ADXL 335 accelerometer
-a tiny infra-red (IR) camera that records with mega-pixel resolution (operational both day and night, thanks to the IR emitters lighting up the scene at night) with built-in SD card.

Experimental Setup
The accelerometer detects a bump when someone hits the car and triggers the camera which records video for a pre-determined amount of time.

Circuit Diagram
Above is the circuit diagram for this experiment, and below is the PCB sketch, made using software from Fritzing (they are located in Berlin and will print out your PCBs for you):

PCB sketch
The link between the micro-controller and the camera is wireless infra-red. The camera came with a remote control, and I reverse-engineered it to work out the commands for on/off and start/stop recording using an IR detector. The microcontroller now sends commands to the camera using an IR emitter, which is just a LED that operates in the IR spectrum.
I made use of this wonderful library, written by Kevin Shirriff to decode the remote control signals between the remote and the camera.
Here is the Arduino code to trigger camera recording when the accelerometer values are a threshold above previously recorded (filtered) values. Accelerometer values in x, y and z axes are filtered by a moving average filter. If new values are a threshold above the previous (moving) average values in any of the 3 axes, then the camera is turned on and recording commenced for 10 seconds.
//////////////////////////////////////////////////////////////////
//Arduino code to turn on a video camera (using IR link) when
//accelerometer detects movement of device
//Jay Chakravarty 2013

//Adapted from the book Arduino Cookbook by Michael Margolis
//and
//bildr.com (Simple code for the ADXL335)
//http://bildr.org/2011/04/sensing-orientation-with-the-adxl335-arduino/


//////////////////////////////////////////////////////////////////

#include <IRremote.h> //IR remote control library

//Number of remote control keys
const int numberOfKeys = 2;
//IR Key codes
long irKeyCodes[numberOfKeys]=
{ 0xFFA25D, //on/off key
  0xFF906F //record video start/stop key
}; //holds the codes for each key

//Analog read pins
const int xPin = 0;
const int yPin = 1;
const int zPin = 2;

//accelerometer values
int xRead;
int yRead;
int zRead;

//filtered accelerometer values
double xAvg = 0;
double yAvg = 0;
double zAvg = 0;

//filtering constant
double alpha = 0.2;

//threshold
double threshold = 1.0;

long startTime;
long elapsedTime;


IRsend irsend; //create the IRsend object


int STATE = 0; //state of the state machine
// 0 = no motion
// 1 = motion detected, started camera recording process

void setup(){
  Serial.begin(9600);
  startTime = millis();  // store the start time

}

void loop(){

  elapsedTime = millis() - startTime;
  //read the analog values from the accelerometer
  xRead = analogRead(xPin);
  yRead = analogRead(yPin);
  zRead = analogRead(zPin);

  //filter the accelerometer values
  xAvg = alpha*xRead + (1-alpha)*xAvg;
  yAvg = alpha*yRead + (1-alpha)*yAvg;
  zAvg = alpha*zRead + (1-alpha)*zAvg;


  //Check if accelerometer detects movement
  if ( (abs(xRead - xAvg) > threshold) || (abs(yRead - yAvg) > threshold) || (abs(zRead - zAvg) > threshold) )
  {
    /*
    //Print accelerometer values
    Serial.println(" | xRead: ");
    Serial.print(xRead);
    Serial.print("xAvg: ");
    Serial.print(xAvg);

    Serial.println(" | yRead: ");
    Serial.print(yRead);
    Serial.print("yAvg: ");
    Serial.print(yAvg);

    Serial.println(" | zRead: ");
    Serial.print(zRead);
    Serial.print("zAvg: ");
    Serial.print(zAvg);
    */

    if ( elapsedTime > 5000)
    {
      STATE = 1;
    }
  }
  if (STATE == 1)
  {
     irsend.sendNEC(irKeyCodes[0],32);
     Serial.println("Turning on camera..wait for 5 seconds");
     myDelay(5000);

     irsend.sendNEC(irKeyCodes[1],32);
     Serial.println("Start video recording, recording for 10 seconds...");
     myDelay(10000);

     irsend.sendNEC(irKeyCodes[1],32);
     Serial.println("Stop video recording");
     myDelay(5000);
     irsend.sendNEC(irKeyCodes[0],32);
     Serial.println("Turning off camera");
     myDelay(5000);
     STATE = 0;
     startTime = millis();

  }

  delay(100);//just here to slow down the serial output - Easier to read
}

void myDelay(unsigned long duration)
{
 unsigned long start = millis();
 while (millis() - start <= duration)
 {
 }
}